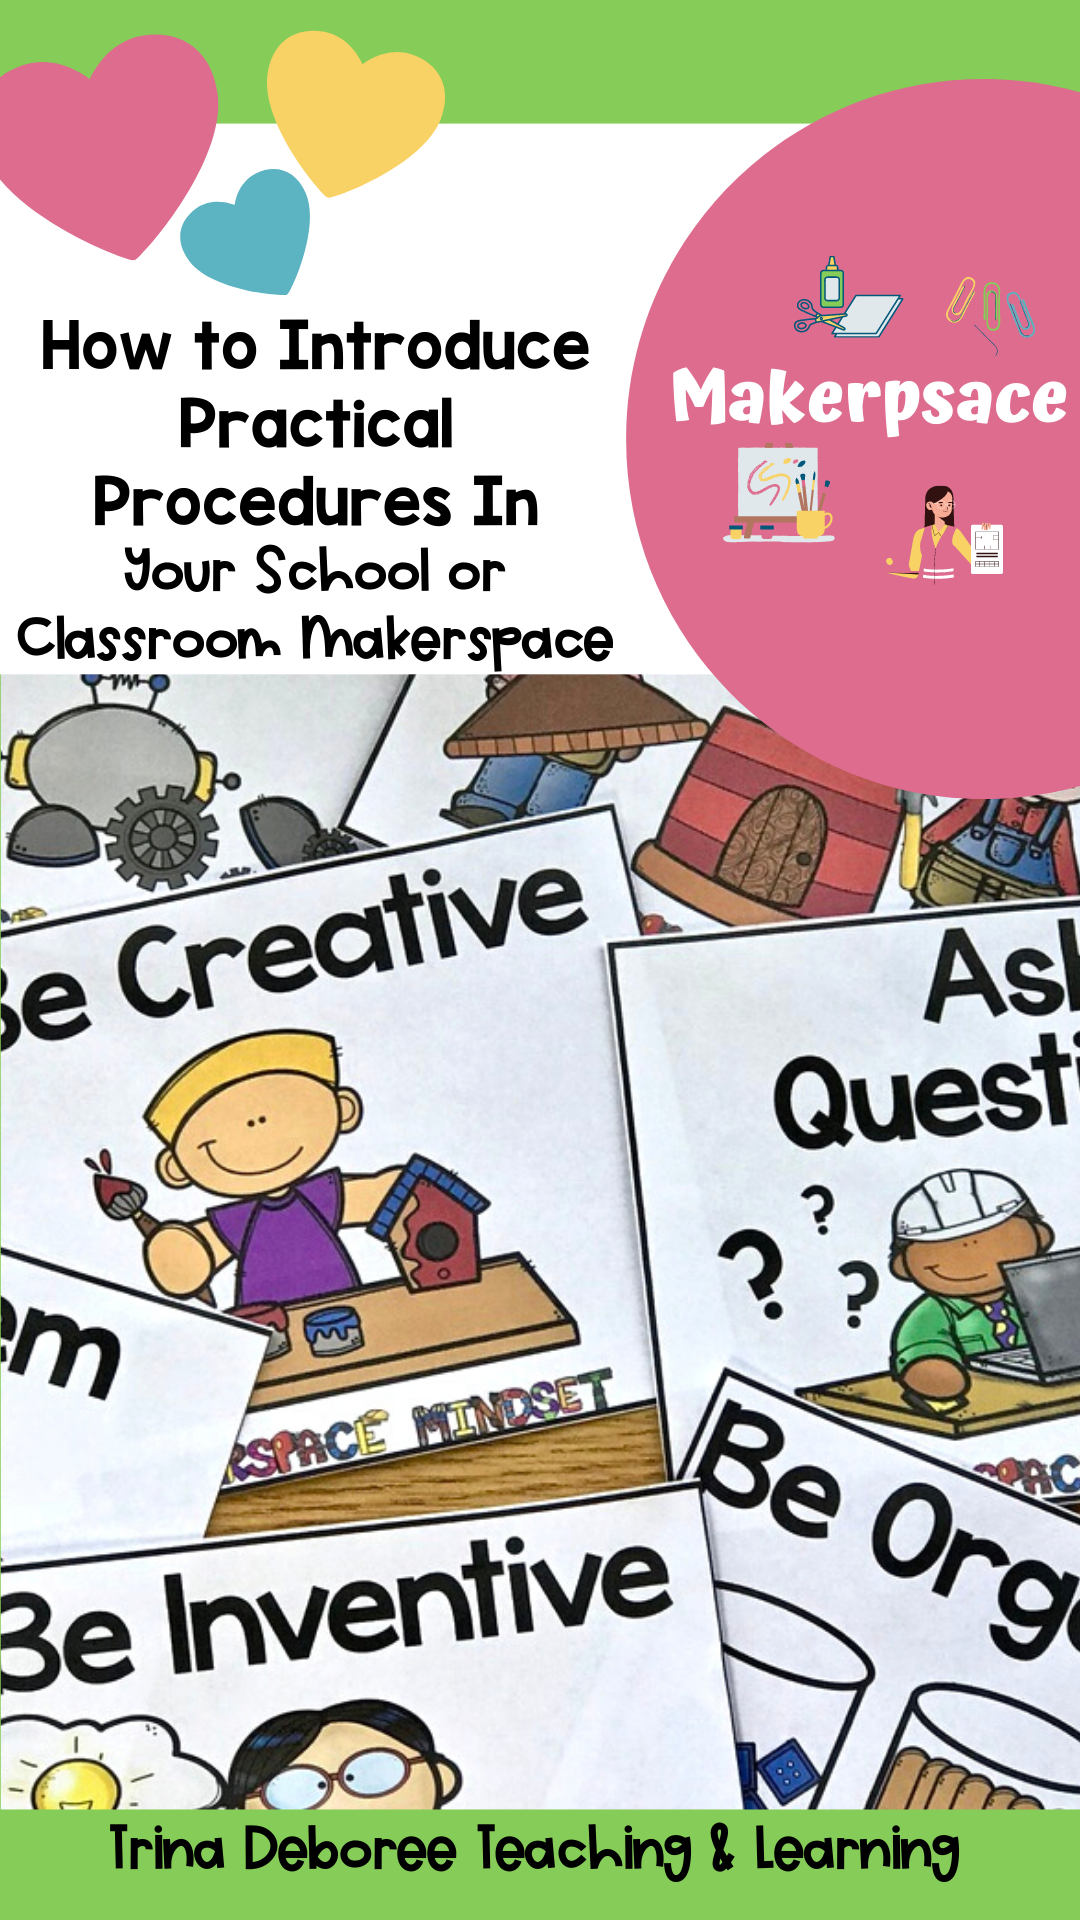
How to Introduce Practical Procedures in Your School or Classroom Makerspace

While starting a maker space in your classroom, school library, or homeschool area can be an overwhelming task, you can breathe a little more comfortable knowing that the maker mindset community encourages you to approach making in your own way with a focus on new things and new skills.
Makerspaces encourage creative thinking, taking risks, different ways of doing things, project-based learning, and learning from failure for young people.
By trying different things in school makerspaces or classroom makerspaces, you can narrow down the best way that works for you and your kids at any grade level and what does not work. Through this process of exploration and experimentation, you’ll be better able to refine your Makerspace from many perspectives until it becomes the successful innovative hands-on learning experience it is meant to be.
Nobody who uses the space needs to be an expert, not even the teacher. The most important thing is to have a passion for and a curiosity about making in many different forms. Once you establish safety and basic competency, members can teach themselves what they need to know. We find that projects that a member is passionate about are one of the best motivators for learning.
— SMITH SYSTEM
Now that you have determined the benefits of makerspaces in the blog post, every classroom needs a makerspace. You have also reviewed steps for successful launches and labeled everything; you are ready for the finishing touches of ensuring your makerspace is a huge hit and success!
An essential aspect of launching a Makerspace with creative projects in your space is having clear expectations and procedures for how it will all be organized and utilized. When we set up our area, we create systems to help things run smoothly. In the same way that we run our classrooms, media centers, or homeschool classrooms (or family, for that matter), it is crucial to create makerspace procedures that help makers understand how to utilize and participate in our spaces in their free time, focusing on their own interests, or focusing on problem-solving skills in an open-ended exploration.

How to Introduce Practical Procedures in Your Makerspace
1 Why Is It a Good Idea to Teach Procedures?
Classroom routines train students to carry out procedures with minimal wasted time. Less wasted time allows for more time to create and discover new ideas and dive into makerspace activities.
By doing chores or tasks, children learn to take pride in helping out around their space. The rule of procedures is, Never do anything for kids that they are thoroughly capable of doing for themselves.- Fred Jones

2 Explicitly Teach and Practice Each Practical Procedure
Procedures that are taught and practiced over and over again are the ones that work the best. If you see something you don’t like, stop the group and reteach. This is also a great time to focus on soft skills during the school day.
You want procedures to be seamless. So if they aren’t, show them how the process should look. Or better yet, allow other kids to show them or teach them. Make the teaching of procedures fun. I love to show them how I want it to look and then give them a horrible non-example that is so exaggerated the kids can’t help but laugh. Then I repeat the correct way before I focus on student learning during practice.
Each routine must be taught with the care of any other lesson. It is very time-consuming at the beginning, but it is VITALLY important to your sanity and an actual time saver in the end.

3 Turn a Procedure Into a Routine in K-12 Schools or Classrooms
Things that you don’t want to have to repeat or practice later in the year should become a routine. The only way to make procedures reasonable is to make them a matter of routine. A routine is simply a well-practiced response to an adult’s request or directive.
A procedure’s objective is efficiency. The efficient execution of routines saves a HUGE amount of time for learners that would otherwise be wasted.
Procedures are also very important for all types of thinkers and learners, such as students with special needs or even our English language learners. Using visuals and body movements to teach procedures helps students greatly.
4 Be Proactive
Think through all areas of your makerspace and the wide range of activities that will be taking place in this space. You will want to anticipate any trouble areas and develop a procedure for them.
Teaching routines and procedures in your space is THE VERY MOST IMPORTANT thing you will do in your area.
If you need more information on this fundamental subject, check out Tools For Teaching by Fred Jones and The First Days of School by Harry and Rosemary Wong. {Even if you are a homeschool parent, these two resources have a wealth of information that is as practical at home. Obviously, you can ignore some of the areas. If you are struggling with routines, procedures, or time on task, then you will want to check these books out.

Some Procedures to Think Through in Advance in Familiar Spaces:
Safety
What do kids need to be safe during design projects? Do they need goggles, gloves, and hard hats? Do they need to be trained on a tool before using it? Do you want an adult nearby when kids are using tools such as laser cutters or even 3-D printers?
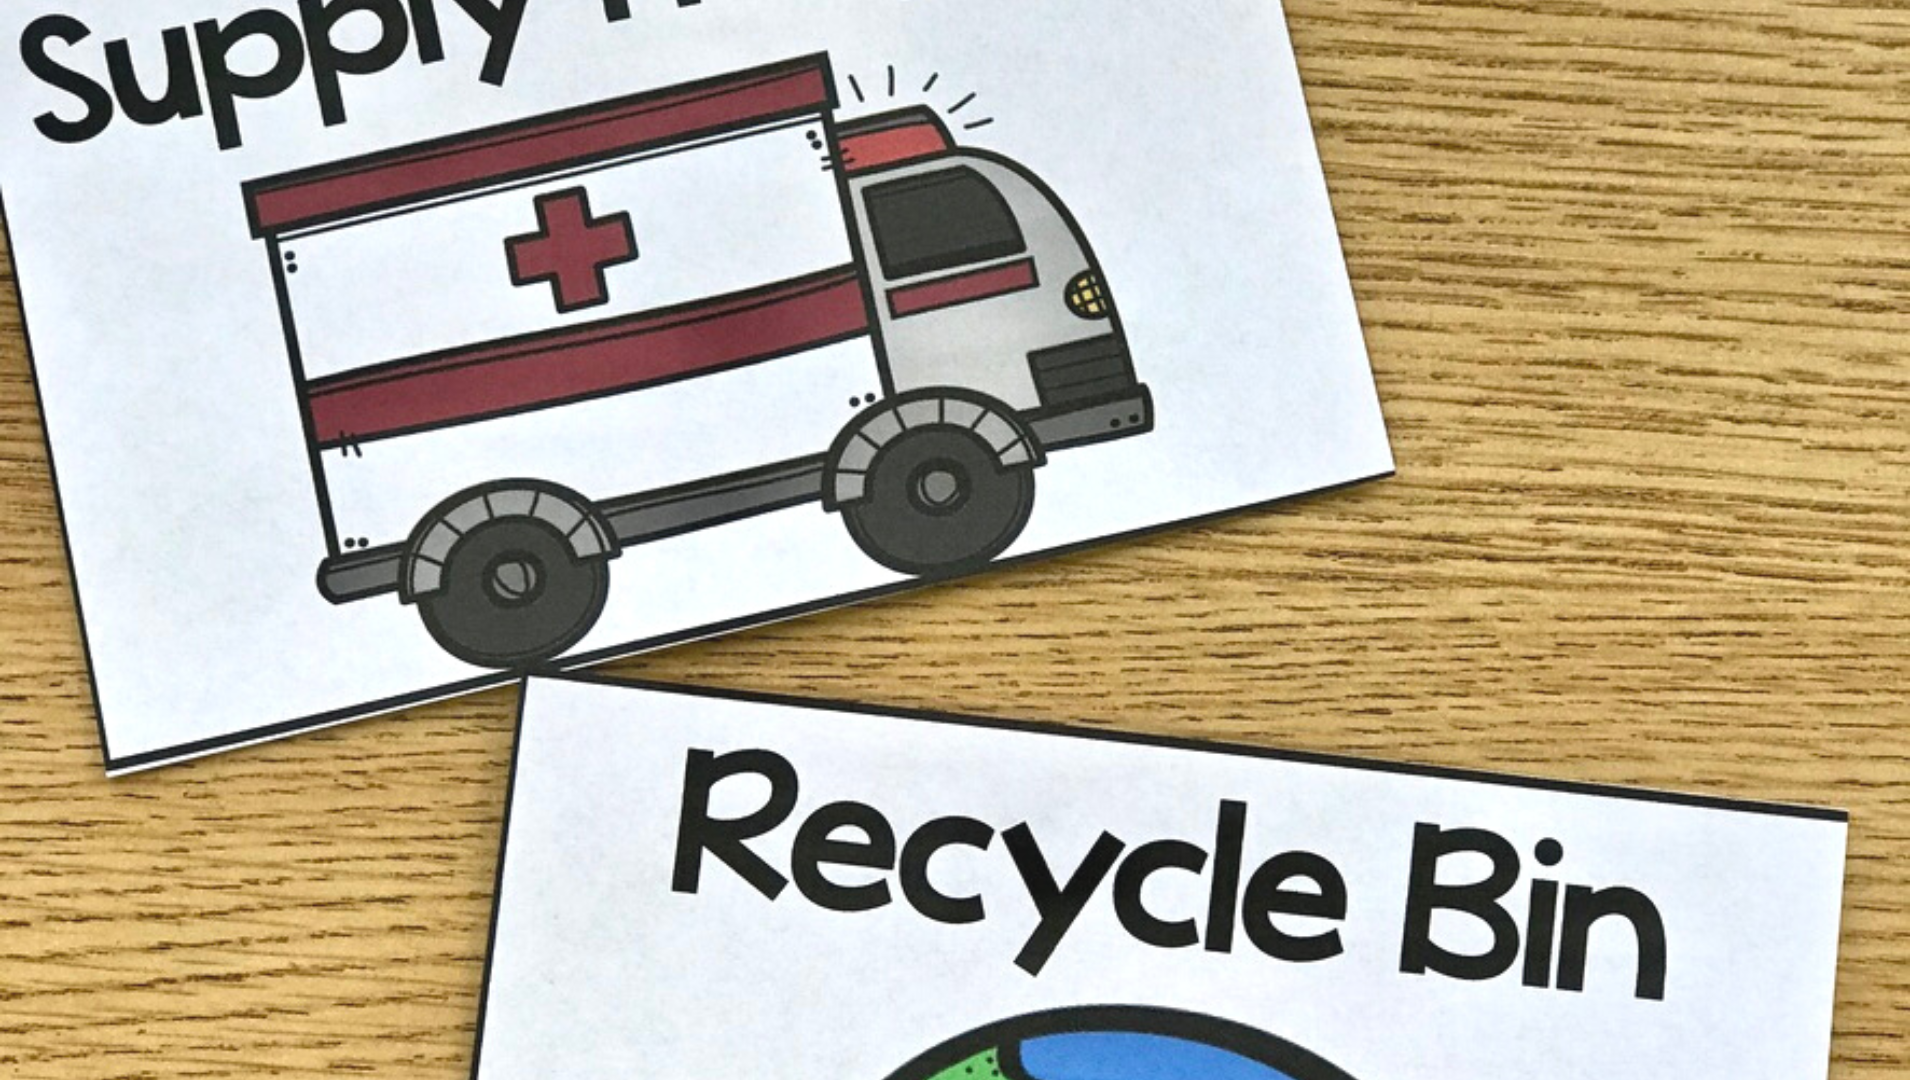
Supplies
How will kids get the supplies? Will they be allowed to use everything or only items for which they have been trained? How many things can they have out at once, such as pipe cleaners or duct tape? How will kids know what they can use on a given day?
I have tried using Stickie Notes to indicate which tools they will be allowed to access in a given session. I have also considered having a use at anytime section as well.

What happens when someone is using something someone else wants? What procedure will you have in place to deal with that? Will you have a sign-up sheet?
How will you deal with clean up?
Clean-up is a big one for me. I don’t want to deal with a giant mess. This is when I repeat the procedure rule- Never do anything for kids that they are thoroughly capable of doing for themselves.- Fred Jones.
Having things labeled helps for the first time helps A LOT! If supplies have a home, it is so much easier to put things away. Be sure to look back at How To Organize and Label Your Makerspace for labels and a chance to receive a FREE Makerspace Start-Up Kit.
Do you have a place for broken tools? What constitutes broken? Can it be recycled?
We talk a lot about recycling in our Makerspace. Trash can be a tremendous FREE supply in a classroom space. Old boxes- tissue or cardboard are the best! So if it can be reused, that is the first place it goes.
If it is a broken tool, put it in the tool hospital bin. I want kids to come to me IMMEDIATELY if they are hurt; if not, then I want them to decide what to do if something breaks. The Ask 3 Before Me method works the best. They can ask three others what they think. Then make the decision. If all three children don’t know, then all FOUR kids (including the person who asked) come to me with the problem. {This is a significant procedure to have in place for pretty much anything.}
Teams in Maker Education
Makerspace is all about collaboration. NOT competition. Kids have enough practice with that. Don’t get me wrong, I’m all for healthy competition (Go Gators!), but Makerspace is about working through things with a team. Now some kids don’t love being part of a team. I think a healthy balance is necessary. As a person, who likes to work alone sometimes, I get it. However, synergy happens with others. So you may want a procedure in place for teams.
I don’t like to call team procedures rules. Rules sound negative. I honestly like to call them Team Agreements. Having a set of agreements that all teammates can live with makes teamwork so much better.
I’m also all about the win-win. Often, a majority rule is for what people strive for. That implies a win-lose. If it is possible for both parties to feel like they win, that is the optimal outcome.
Here is an example of what I mean by win-win vs. win-lose. {By the way, this is based on Stephen Covey’s 7 Habits model- love that guy. He is missed.}
A boy wants to use the last group of popsicle sticks. So does a girl. A compromise might be to tell the kids that you will draw names to see who gets them, or you may cut the bundle in half. The first scenario leads to a win-lose. One kid gets them the other doesn’t. Or a lose-lose with half of a popsicle stick or an insufficient amount to finish the invention. With a win-win, you say we have enough popsicle sticks for one person. We also have toothpicks, straws, and Legos. Would one of you like to use those instead? The straws even bend a little. Nine times out of 10, one kid wants the other option. Win-Win!

Jobs in School Libraries or Elementary School Classroom Makerpsaces
Another great addition to procedures and routines is jobs. Jobs allow kids to take responsibility. Kids can be trained in each position, and maybe even apply for the job.
Once you have the right kid for the right job, let them be the expert. After some time has gone by- like a quarter or several weeks, open up the application process again. This time let the current job holder train the newbie. Less work for you! Another win-win!
Need some Makerspace jobs done for you? Head on over to my shop on TpT and grab these jobs and Makerspace Mindsets.

The thing to remember about procedures and routines is that they take a lot of thought and practice.
I promise you the time and effort it takes to get it all sorted out is totally worth it in the end. And if you discover you don’t like how something is going, of course, correct. Correcting what isn’t working is part of life. Why not teach it to them while they are young?!